
Crochet Baby Santa Hat Pattern
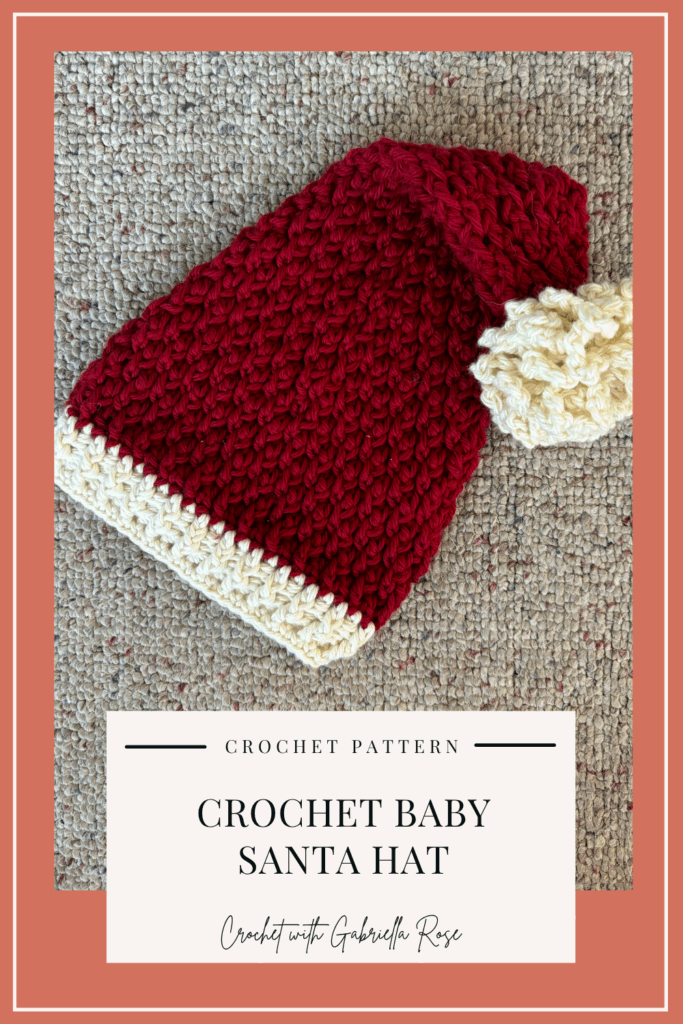
Is anyone else feeling like they are running low on cute Christmas crochet project ideas? You can’t go wrong with an adorable winter hat, especially a crochet Baby Santa hat! Bonus: once you know the basics of the pattern, it’s super easy to adjust the hat size for the whole family!
This post contains affiliate links, which means I receive a small commission, at no extra cost to you, if you make a purchase using that link. Please see my disclosure for more details.
The Story
I only discovered the alpine stitch just this past year… and I think it has become my new obsession. I adore the texture it makes, all while being one of the easiest stitches ever!
You know those small-town shops that look like they came straight out of a cheesy Christmas rom-com and always seem to have everything you never knew you needed? I’ve been working at one of those exact shops in my little local downtown area. Just a quick walk from my house and across the street from the best coffee you’ll ever have. Not sure if that’s the homemade pumpkin puree or the sweet baristas talking, but boy do I go there more than I probably should.
In a town oozing with charm, I knew the crochet that I was going to put into this shop had a lot to live up to. As Christmas has been approaching, I wanted to find the perfect crochet Santa baby hat to make… but nothing felt right. I had this new love for the alpine stitch and couldn’t resist the adorable long slouch elf-style hat. I knew I didn’t want to do faux pom poms, and I definitely knew I didn’t want to lose another battle with those pesky pom pom makers again (don’t ask)… but then I remembered a bunny tail I made for an old friend with some simple chains and loops! That’s it! I MUST make this crochet Santa baby hat! I can’t be the only who needs to see this idea come to life!
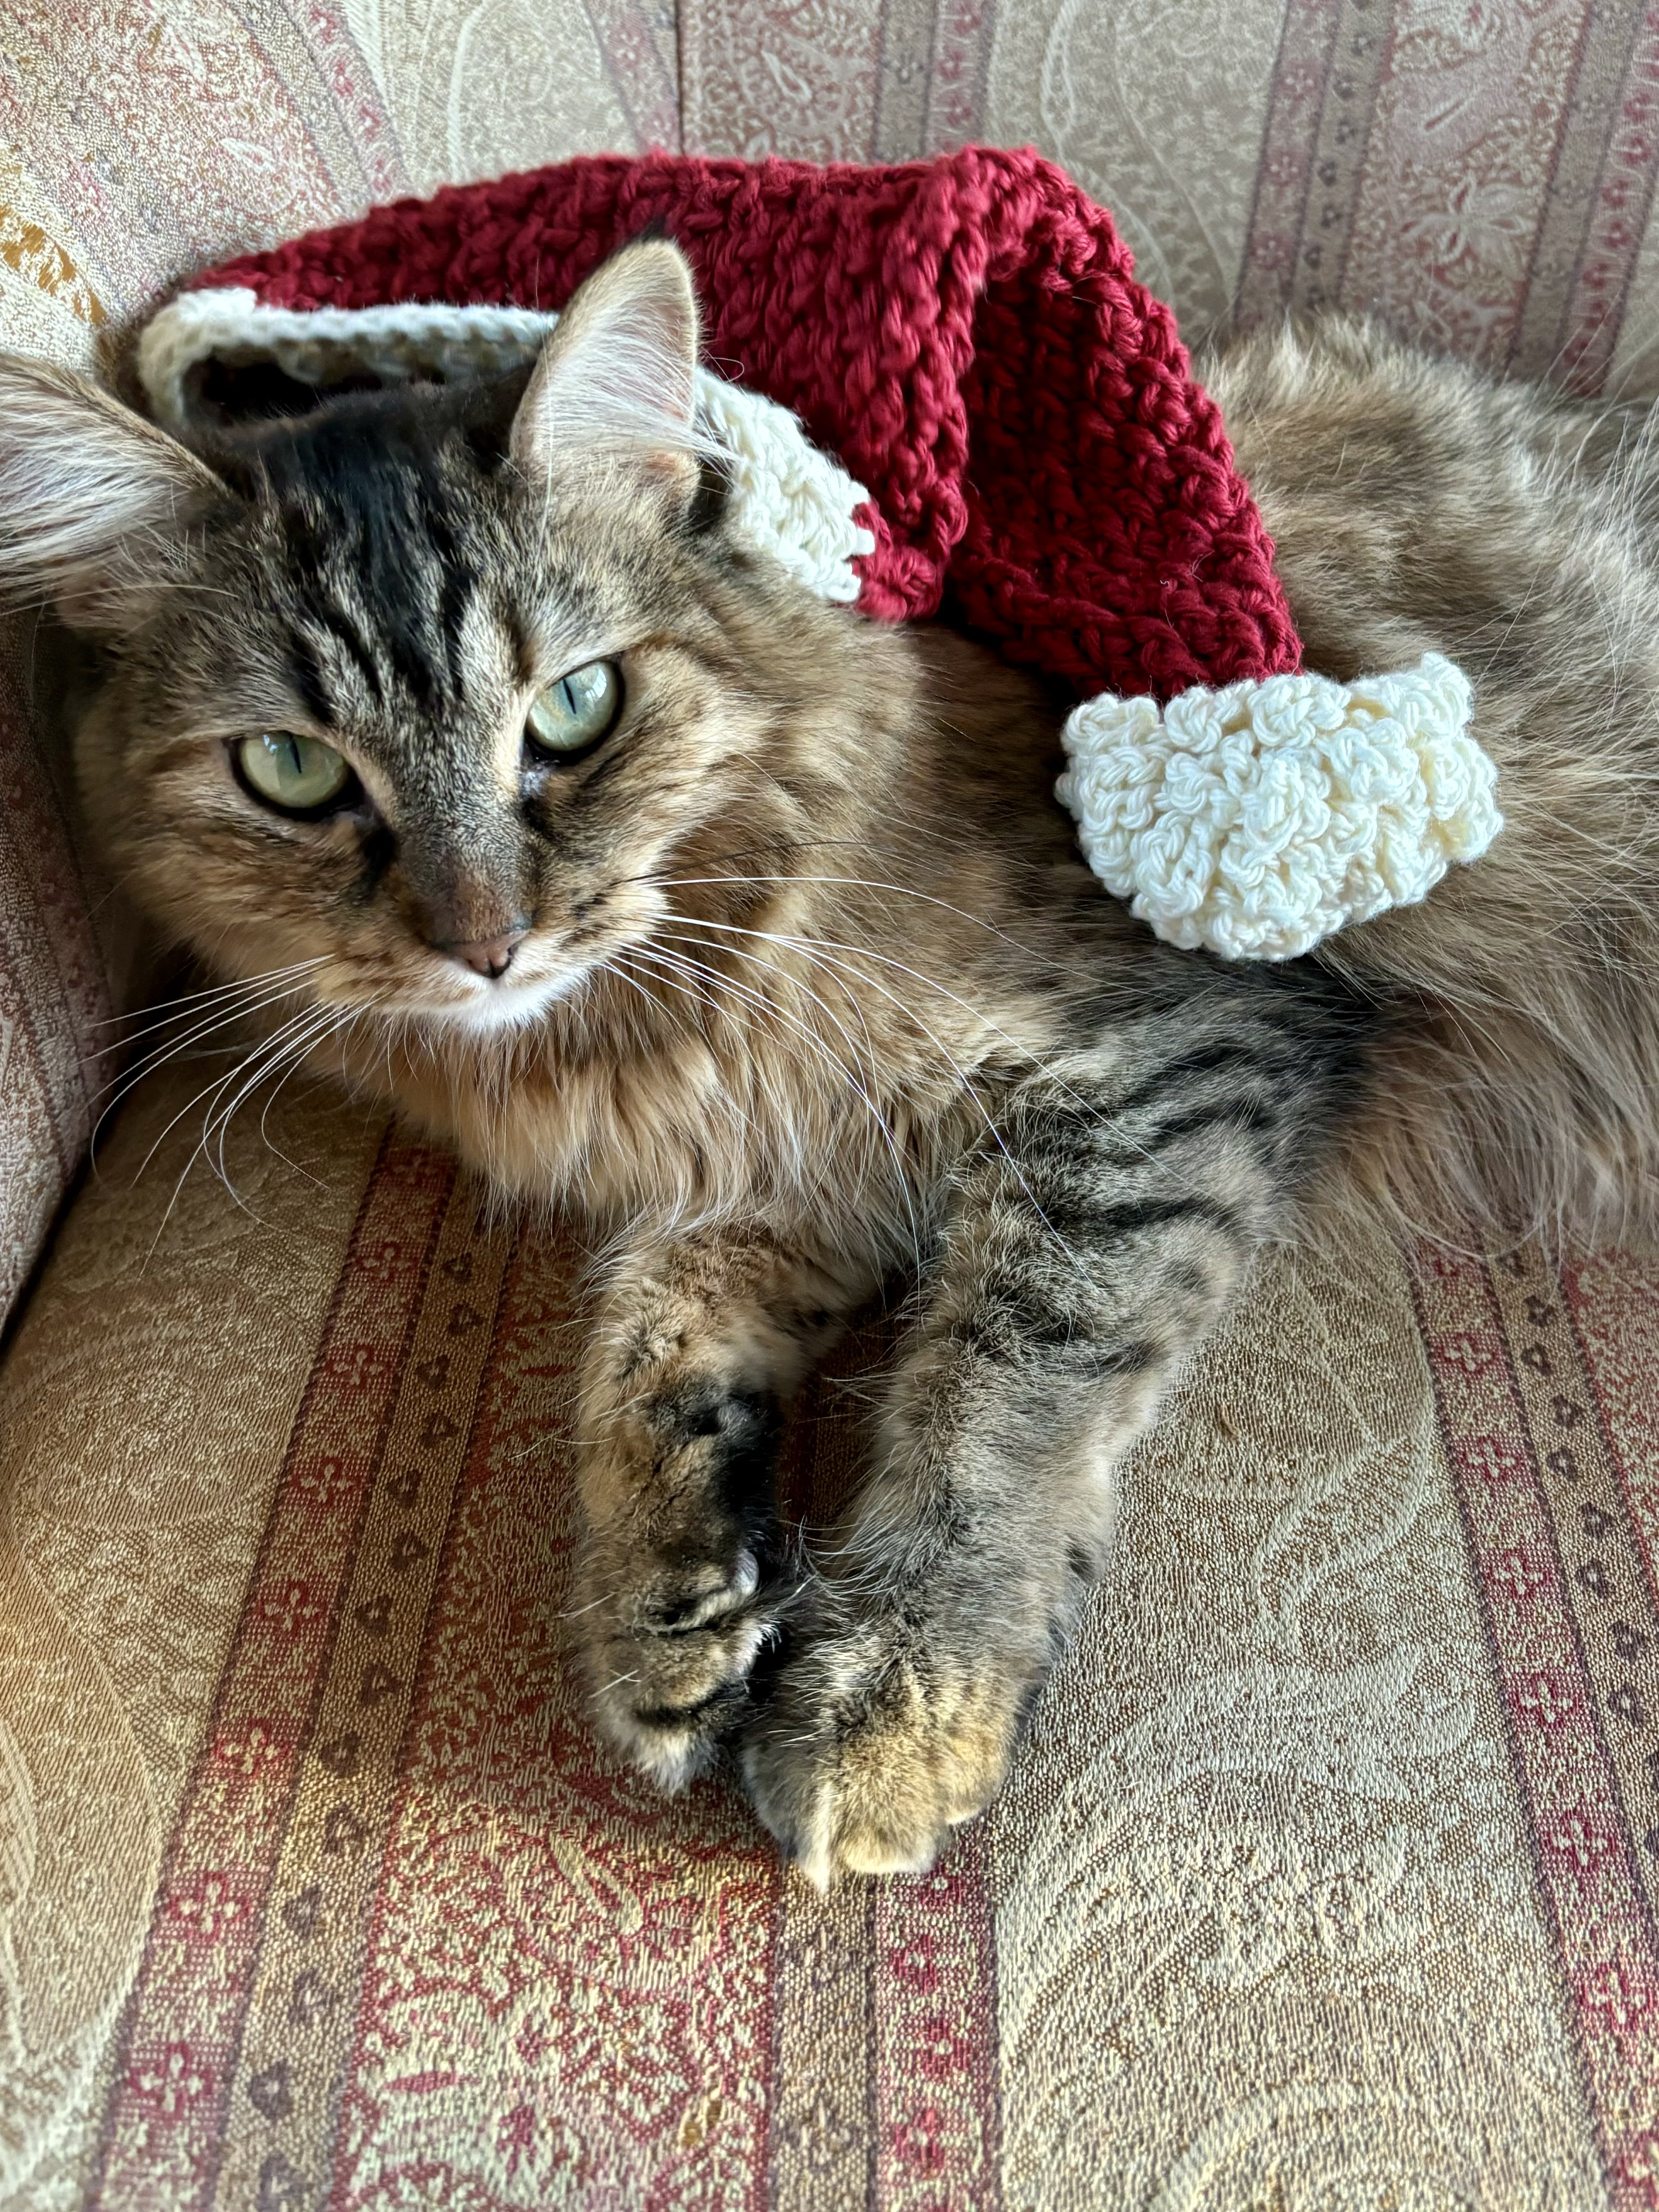
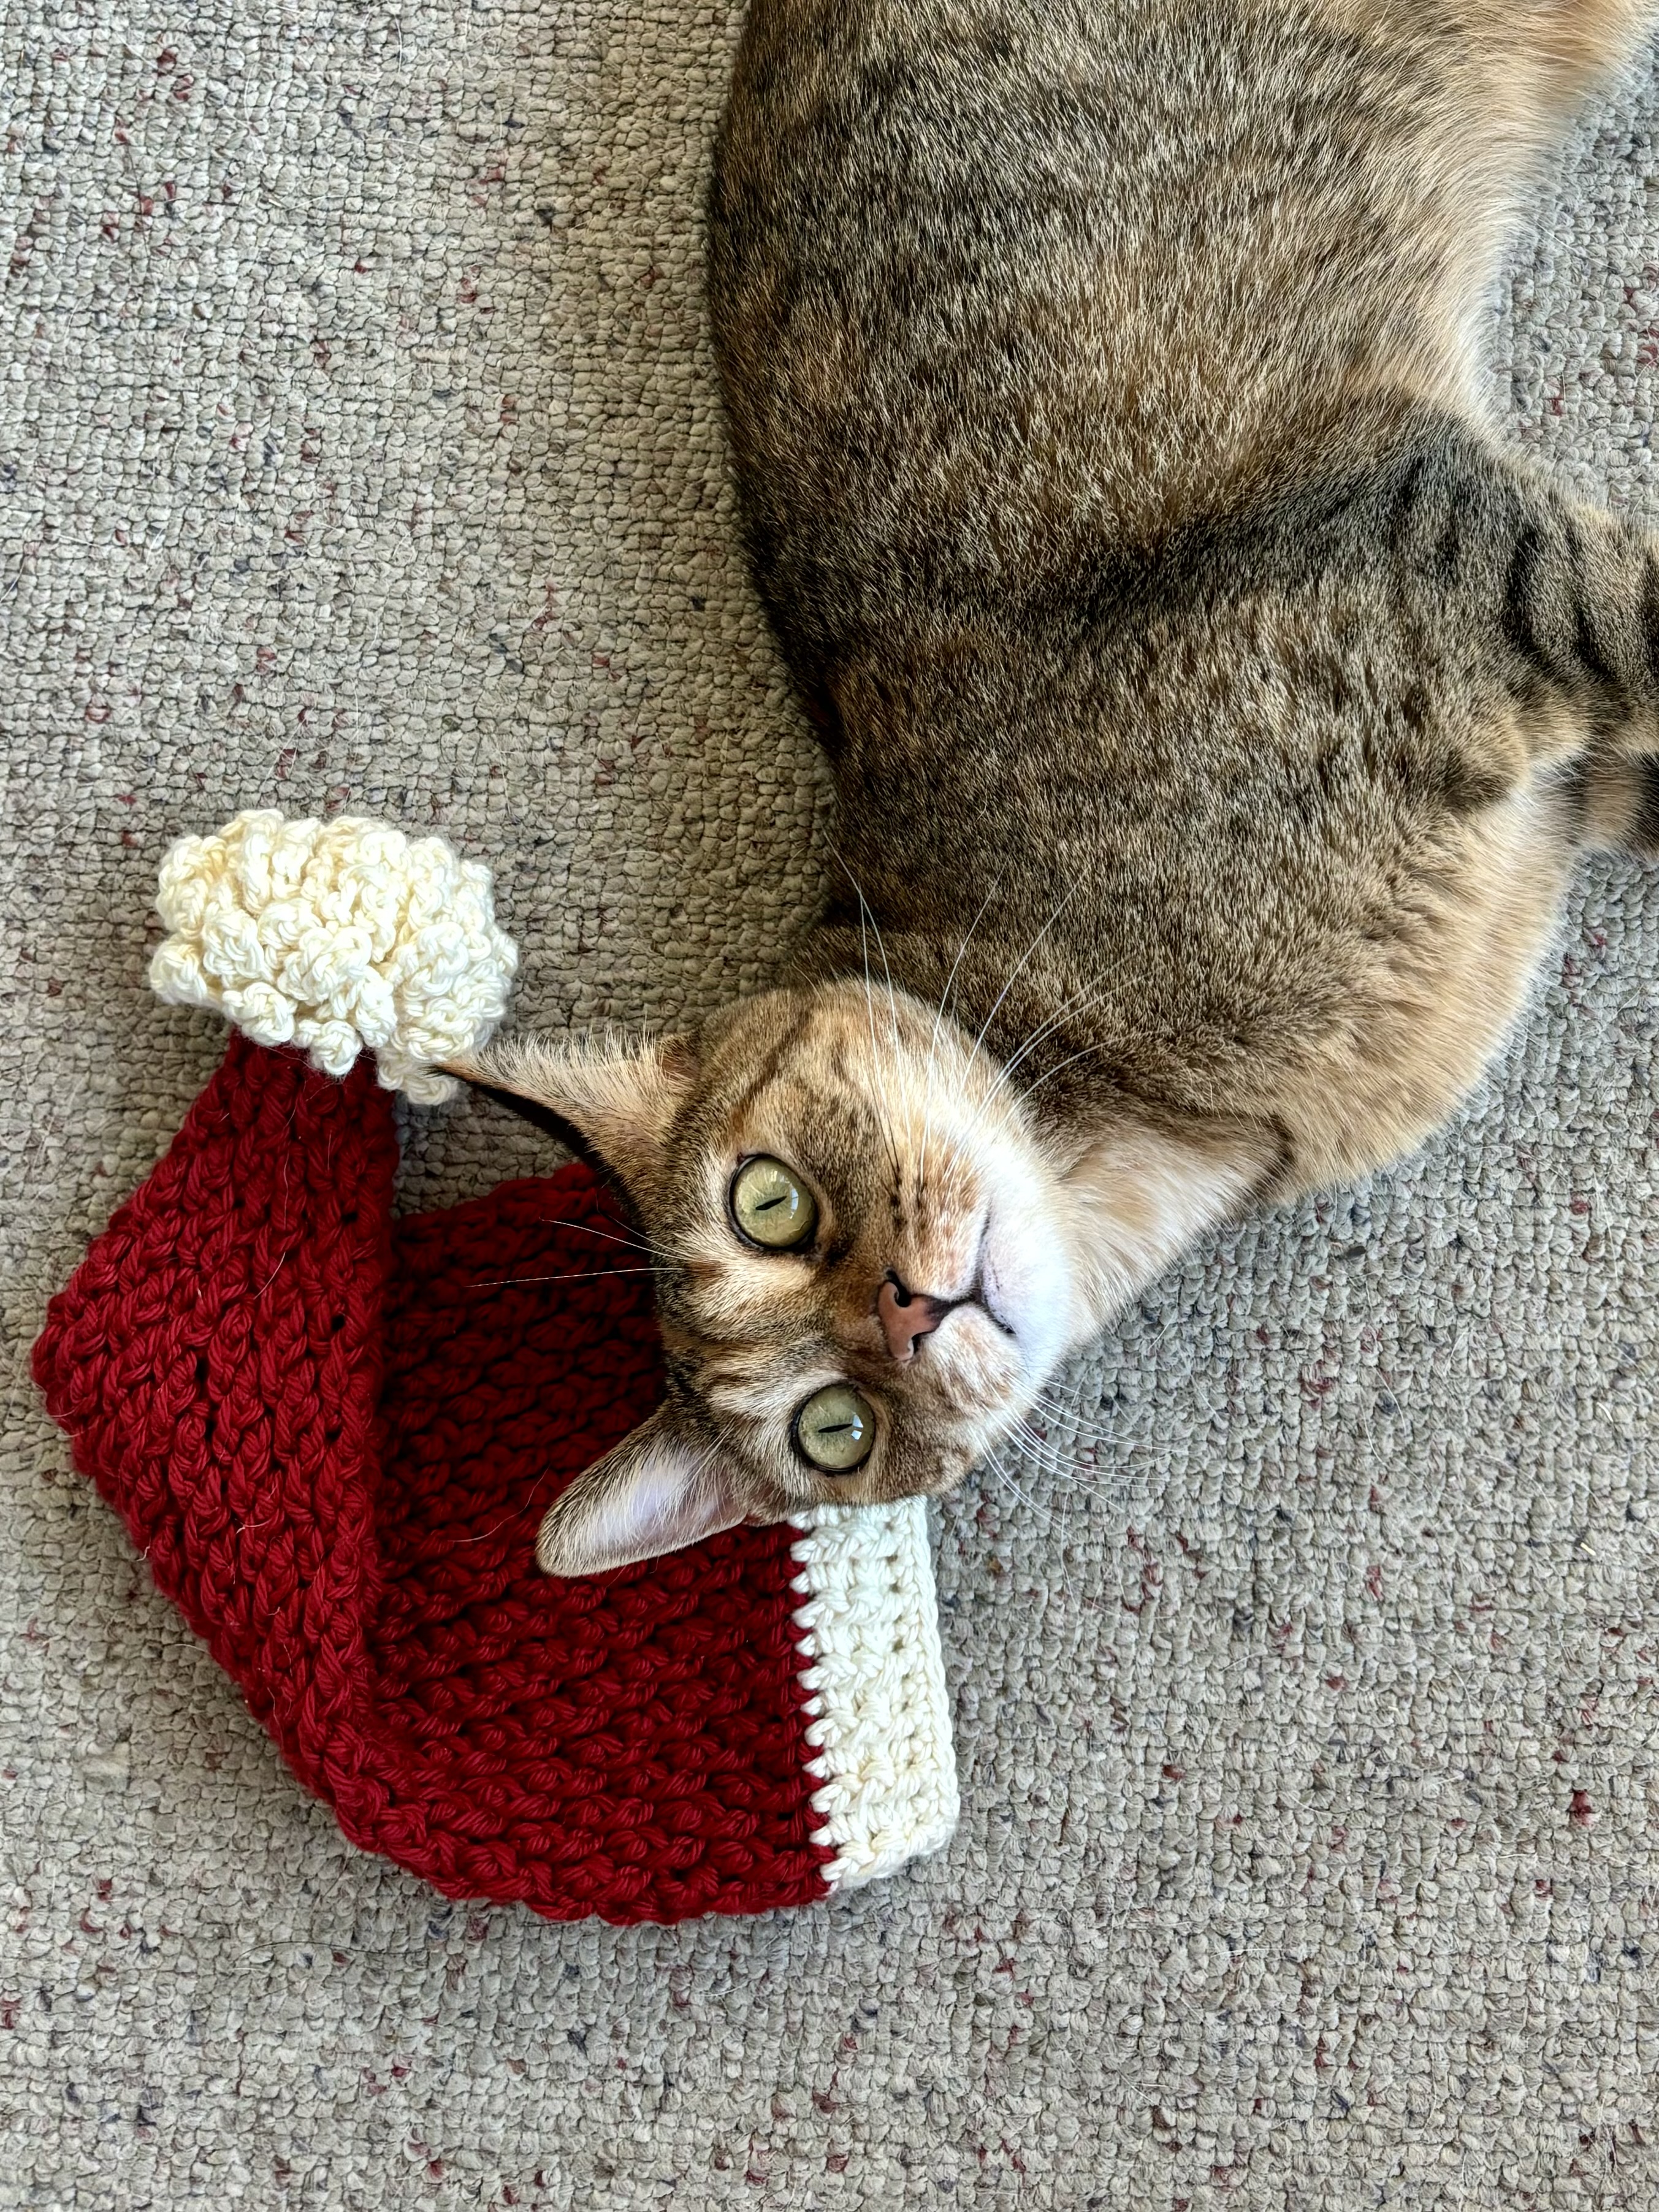
Side note: My cats wanted me to ask… who is the better model? Mochi… or Mousse?
The Pattern
Materials
- I Love This Cotton Yarn. 120 yards of Burnt Sienna. 40 yards of Ivory.
- US G/4 mm Crochet Hook
- Tapestry Needle for weaving in ends
Size
Finished hat fits an average 0-3mo baby head. About 12” around and 12” long.
Depending on the number of increasing rows that you do, you could easily adjust this size to fit your needs and preferences!
Gauge
10 st = 2.5in; 6 rows = 2.5in

Loopy Pom Pom
Note: Loopy Pom Pom uses color “Ivory”
R1: Magic ring. Ch 1, 10sc in ring. Sl st in first sc to join. (10st)
R2: Ch1, working in the back loop (BLO), 2sc in each st. Sl st into first sc to join. (20 st)
R3: Working in the BLO of R2, *Ch10, sl st in the BLO of next st*, repeat from *to* 19 more times. (20 loops)
R4: Working in the front loop (FLO) of R2, *Ch10, sl st into the FLO of next st*, repeat from *to* 19 more times. (20 loops)R5: Working in the FLO of R1, *Ch10, sl st into the FLO of next st*, repeat from *to* 9 more times. Fasten off. (10 loops)

Hat
Note: Hat uses color “Burnt Sienna”
The technique used in this part of the pattern is called the “Alpine Stitch,” which involves an alternating of double crochet and front post double crochet every other stitch and row to make a textured pattern.
R1: Insert yarn into back of the loopy pom pom, pull up loop, yarn over, and pull through all loops, 1sc made. Continue inserting into the loopy pom pom, making a total of 8sc st. Sl st into the top of the first sc st. (8 st)
R2: Ch2 (does NOT count as a dc here and throughout), 1dc in each st. Sl st to join. (8 st)
R3: Ch1, *1fpdc and 1dc in the same stitch (behind the fpdc), 1fpdc in next st* Repeat from *to* around. Sl st to join. (12 st)
R4: Ch3, (counts as a dc here and throughout) *1fpdc, 1dc in next st* Repeat from *to* around. 1fpdc. Sl st to join. (12 st)
R5: Ch1, *1fpdc and 1dc in same st, 1fpdc, 1dc* Repeat from *to* around. Sl st to join. (16 st)
R6: Ch3, *1fpdc, 1dc in next st* Repeat from *to* around. 1fpdc. Sl st to join. (16 st)
R7: Ch1, *1fpdc and 1dc in same st, 1fpdc, 1dc, 1fpdc* Repeat from *to* around. Sl st to join. (20 st)
R8: Ch3, *1fpdc, 1dc in next st* Repeat from *to* around. 1fpdc. Sl st to join. (20 st)
R9: Ch1, *1fpdc and 1dc in same st, 1fpdc, 1dc, 1fpdc, 1dc* Repeat from *to* around. Sl st to join. (24 st)
R10: Ch3, *1fpdc, 1dc in next st* Repeat from *to* around. 1fpdc. Sl st to join. (24 st)
R11: Ch1, *1fpdc and 1dc in same st, 1fpdc, 1dc, 1fpdc, 1dc, 1fpdc* Repeat from *to* around. Sl st to join. (28 st)
R12: Ch3, *1fpdc, 1dc in next st* Repeat from *to* around. 1fpdc. Sl st to join. (28 st)
R13: Ch1, *1fpdc and 1dc in same st, 1fpdc, 1dc, 1fpdc, 1dc, 1fpdc, 1dc* Repeat from *to* around. Sl st to join. (32 st)
R14: Ch3, *1fpdc, 1dc in next st* Repeat from *to* around. 1fpdc. Sl st to join. (32 st)
R15: Ch1, *1fpdc and 1dc in same st, 1fpdc, 1dc, 1fpdc, 1dc, 1fpdc, 1dc, 1fpdc* Repeat from *to* around. Sl st to join. (36 st)
R16: Ch3, *1fpdc, 1dc in next st* Repeat from *to* around. 1fpdc. Sl st to join. (36 st)
R17: Ch1, *1fpdc and 1dc in same st, 1fpdc, 1dc, 1fpdc, 1dc, 1fpdc, 1dc, 1fpdc, 1dc* Repeat from *to* around. Sl st to join. (40 st)
R18: Ch3, *1fpdc, 1dc in next st* Repeat from *to* around. 1fpdc. Sl st to join. (40 st)
R19: Ch1, *1fpdc and 1dc in same st, 1fpdc, 1dc, 1fpdc, 1dc, 1fpdc, 1dc, 1fpdc, 1dc, 1fpdc* Repeat from *to* around. Sl st to join. (44 st)
R20: Ch3, *1fpdc, 1dc in next st* Repeat from *to* around. 1fpdc. Sl st to join. (44 st)
R21: Ch1, *1fpdc and 1dc in same st, [1fpdc, 1dc] x5* Repeat from *to* around. Sl st to join. (48 st)
R22: Ch3, *1fpdc, 1dc in next st* Repeat from *to* around. 1fpdc. Sl st to join. (48 st)
R23: Ch1, *1fpdc, 1dc in next st* Repeat from *to* around. Sl st to join. (48 st)
R24: Repeat R22. (48 st)
R25: Repeat R23. Fasten off. (48 st)
Note for size adjustments: If you want to make it smaller, just stop your increasing whenever it feels appropriate and skip to rows 22-25 (and disregard the stitch count). If you want a large size, just continue the pattern of increasing until your desired size and move to rows 22-25.
Ribbing
Note: Ribbing uses color “Ivory”
R1: Insert yarn into beginning of last row. 1hdc in each st. Sl st to join. (48 st)
R2: Ch2 (counts as hdc here and throughout), *1fphdc around next st, 1bphdc around next st.* Repeat from *to* around. Sl st into top of ch2. (48 st)
R3: Repeat R2. (48 st)R4: Ch1, 1sc in same st. 1sc in each st around. Sl st into first sc to join. Fasten off.

Conclusion
I hope you love this crochet Baby Santa hat as much as I do! If you want to make your own, check out the pattern on my Etsy and Ravelry shops. If you are looking for some crochet hooks to use, Clover Amour is my favorite! Not sure if Clover Amour is for you? I have a Clover Amour review post that offers some great cheap alternatives!
Do you have a favorite crochet stitch? Don’t know many? Check out some of my favorites!
Also, the kitties have GOT to know… who wore it better? Do YOU have a furry crochet “helper”? Mine sure like to “help” if you know what I mean…
I love seeing your finished crochet projects! If you enjoyed making one of my patterns I’d love to see it on Instagram! Make sure to tag me @crochetwithgabriellarose. If you are more of a Facebook person, check out the Crochet with Gabriella Rose Facebook page for notifications of new blog posts and crochet patterns!