Common Crochet Mistakes Beginners Make (And How to Fix Them)
I’ve been crocheting since I was 13, which means I’ve had quite a few years to make mistakes.
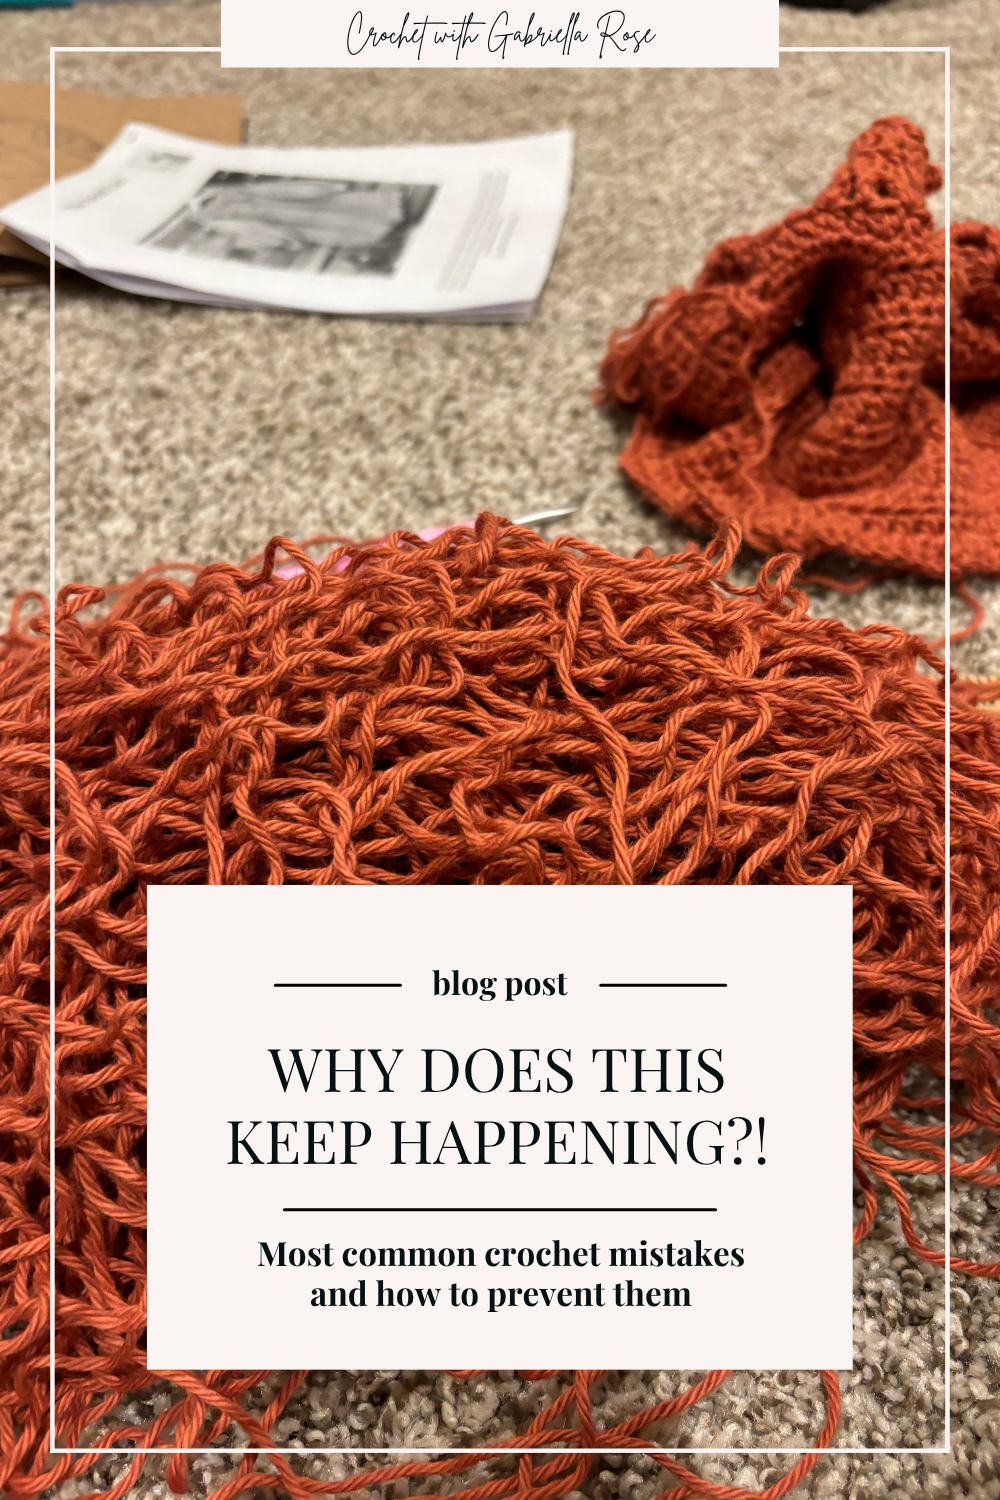
I’ve missed stitches, added stitches, misread patterns, misunderstood instructions, and gotten several rows into a project before realizing that something went wrong much earlier than I’d like to admit. And honestly, I’m still not above making a mistake every now and then.
But that’s part of what I love about crochet.
There is something really special about a handmade piece of crochet. Unlike many other textile crafts that can be produced by machine, crochet is built one stitch at a time by human hands. The stitches, the tension, the rhythm, and even the tiny imperfections all come together to create something that could never be duplicated by a machine.
It’s a labor of love.
So if you’re learning to crochet right now, I want to start by saying this: you’re doing something that takes practice. Don’t expect your first projects to look perfect, and don’t let a wonky row convince you that you’re bad at crochet.
As Bob Ross famously said, “there are no mistakes, only happy accidents.”
Well… sometimes those happy accidents do need a quick little fix.
Because while I absolutely believe that handmade crochet doesn’t need to be perfect, there are some mistakes that can completely change the shape or design of a project if you leave them to their own devices.
The good news is that most beginner crochet mistakes are very fixable once you know what to look for!
So if your crochet project suddenly looks a little different than the pattern photo, your edges are going wonky, or you’re wondering where on earth your extra stitch came from, let’s figure it out together.
This post contains affiliate links, which means I receive a small commission, at no extra cost to you, if you make a purchase using that link. Please see my disclosure for more details.
Your Stitch Count Keeps Changing
One of the most common crochet mistakes beginners make is ending up with the wrong number of stitches.
Maybe your pattern says you should have 20 stitches at the end of the row, but you count 19.
Or you count 21.
Or everything looks fine for a few rows before you suddenly realize that your project has been getting wider or narrower the entire time.
This is incredibly common, especially when you’re first learning how to recognize individual stitches.
Why does this happen?
Usually, you’ve either accidentally skipped a stitch or added one somewhere along the way.
It can happen because the first or last stitch is difficult to see, because you accidentally crochet twice into the same stitch, or because you’re not quite sure whether a turning chain counts as a stitch.
And sometimes you simply lose track while you’re crocheting.
I’ve done it. It happens.
How can you tell if your stitch count is wrong?
Your finished piece can give you some pretty obvious clues.
If you’re making a rectangle and the sides are slowly slanting inward, you’re probably losing stitches.
If your project is getting wider as you work, you may be adding stitches.
You can also count the stitches at the end of your row and compare that number to the stitch count given in your pattern.
How do you fix it?
First, don’t try to compensate for a missing stitch by randomly adding one in the next row.
Instead, go back and find where the stitch count first changed.
If your pattern calls for 20 stitches and you now have 19, count backward through your work until you find the last row where your count was correct. Then undo your work back to that point and try again.
It might be annoying to unravel a few rows, but it’s usually much easier to fix the problem now than after you’ve finished the entire project.
How can you prevent it?
Get into the habit of counting your stitches at the end of a row or round, especially when you’re learning a new stitch or pattern.
You don’t have to count every single stitch for the rest of your crocheting life. But when you’re learning, a quick stitch count can save you from a much bigger headache later!
If you want a refresher on stitch anatomy or just some helpful crochet tips in your back pocket, check out my Beginner’s Guide to Crochet!
You’re Putting Your Hook in the Wrong Part of the Stitch
One of the hardest things about learning crochet isn’t necessarily learning the stitches themselves.
It’s figuring out where your hook is supposed to go.
When you’re looking at a finished row of crochet, all those little loops can start to blend together. And if you’re not familiar with what a stitch looks like, it can be surprisingly difficult to know which part you’re supposed to work into.
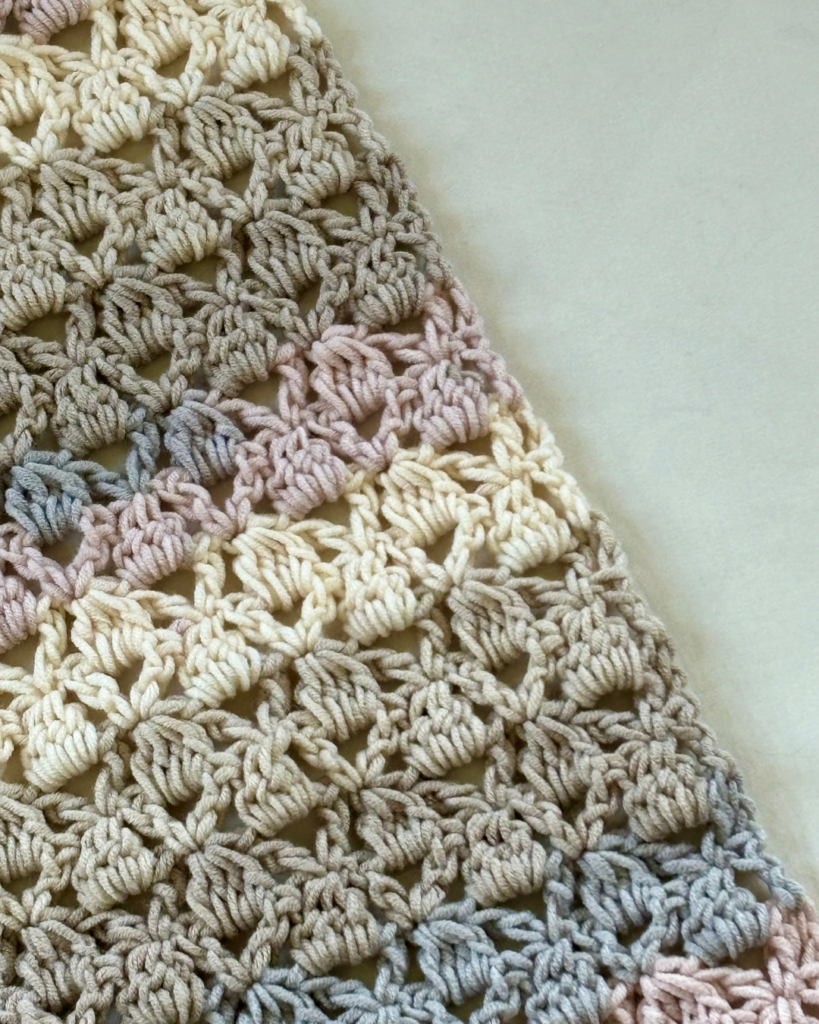
For most basic stitches, you’ll see a little V at the top of the stitch. That V is made up of two loops, and unless your pattern tells you otherwise, your hook will generally go underneath both of them.
Common stitch-placement mistakes
Beginners often accidentally:
- Work through only the front loop
- Work through only the back loop
- Insert the hook between stitches
- Work into a space instead of the stitch
- Split the yarn while trying to insert the hook
None of these are automatically wrong. In fact, front loop only (FLO) and back loop only (BLO) are techniques used intentionally in all kinds of crochet patterns!
The problem is accidentally doing them when the pattern doesn’t call for them.
How do you fix it?
Slow down and look closely at the top of your stitches.
Instead of guessing where your hook should go, look for that little V and identify the two loops that make it up.
If your pattern says BLO, you’ll work through the back loop only. If it says FLO, you’ll work through the front loop only.
Those tiny differences can create completely different textures, so it’s worth getting comfortable recognizing them.
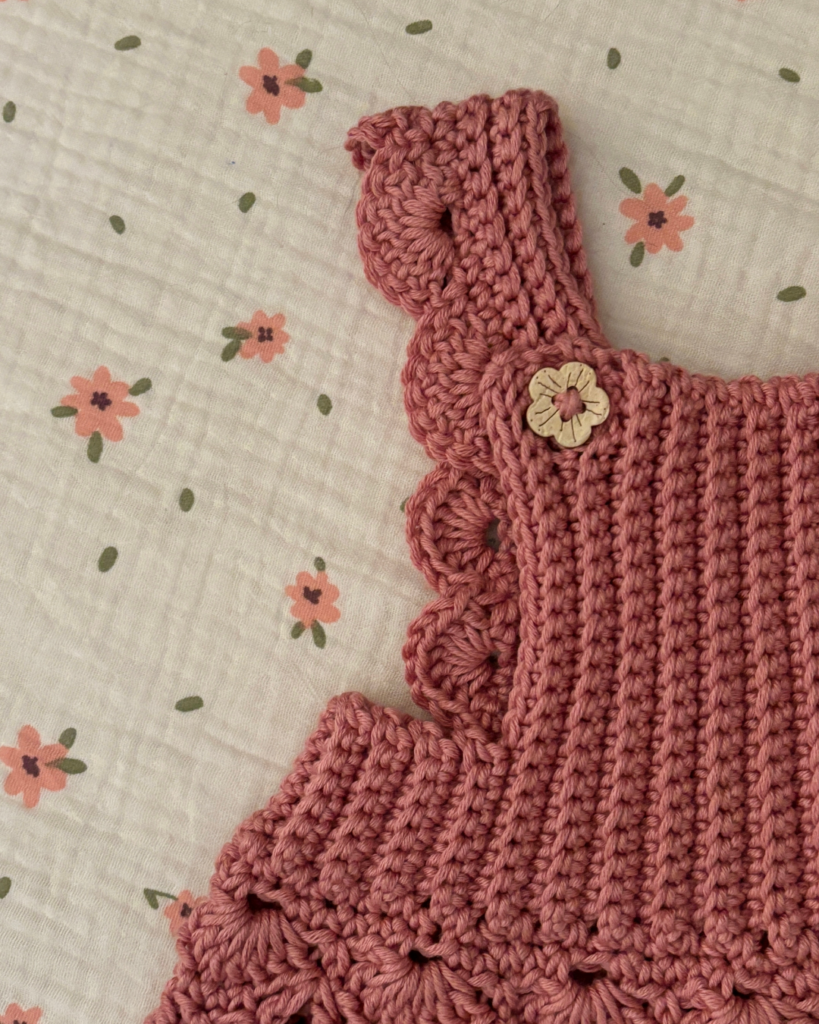
A great example of what it looks like to crochet in BLO is my Storybook Lane Baby Overall Dress! You’ll see this crochet technique being use in the bib texture on the chest.
Your Tension Is Too Tight, Too Loose, or Inconsistent
Tension is one of those crochet skills that takes time to develop.
When you’re first learning, your hands are still figuring out how much pressure to use, how tightly to hold the yarn, and how much space to leave around your hook.
It’s completely normal for your first projects to have some uneven stitches.
If your tension is too tight
You may notice that:
- Your hook is difficult to insert into stitches
- Your fabric feels stiff
- Your stitches are very small
- You’re struggling to pull your yarn through
- Your hands or fingers get tired while crocheting
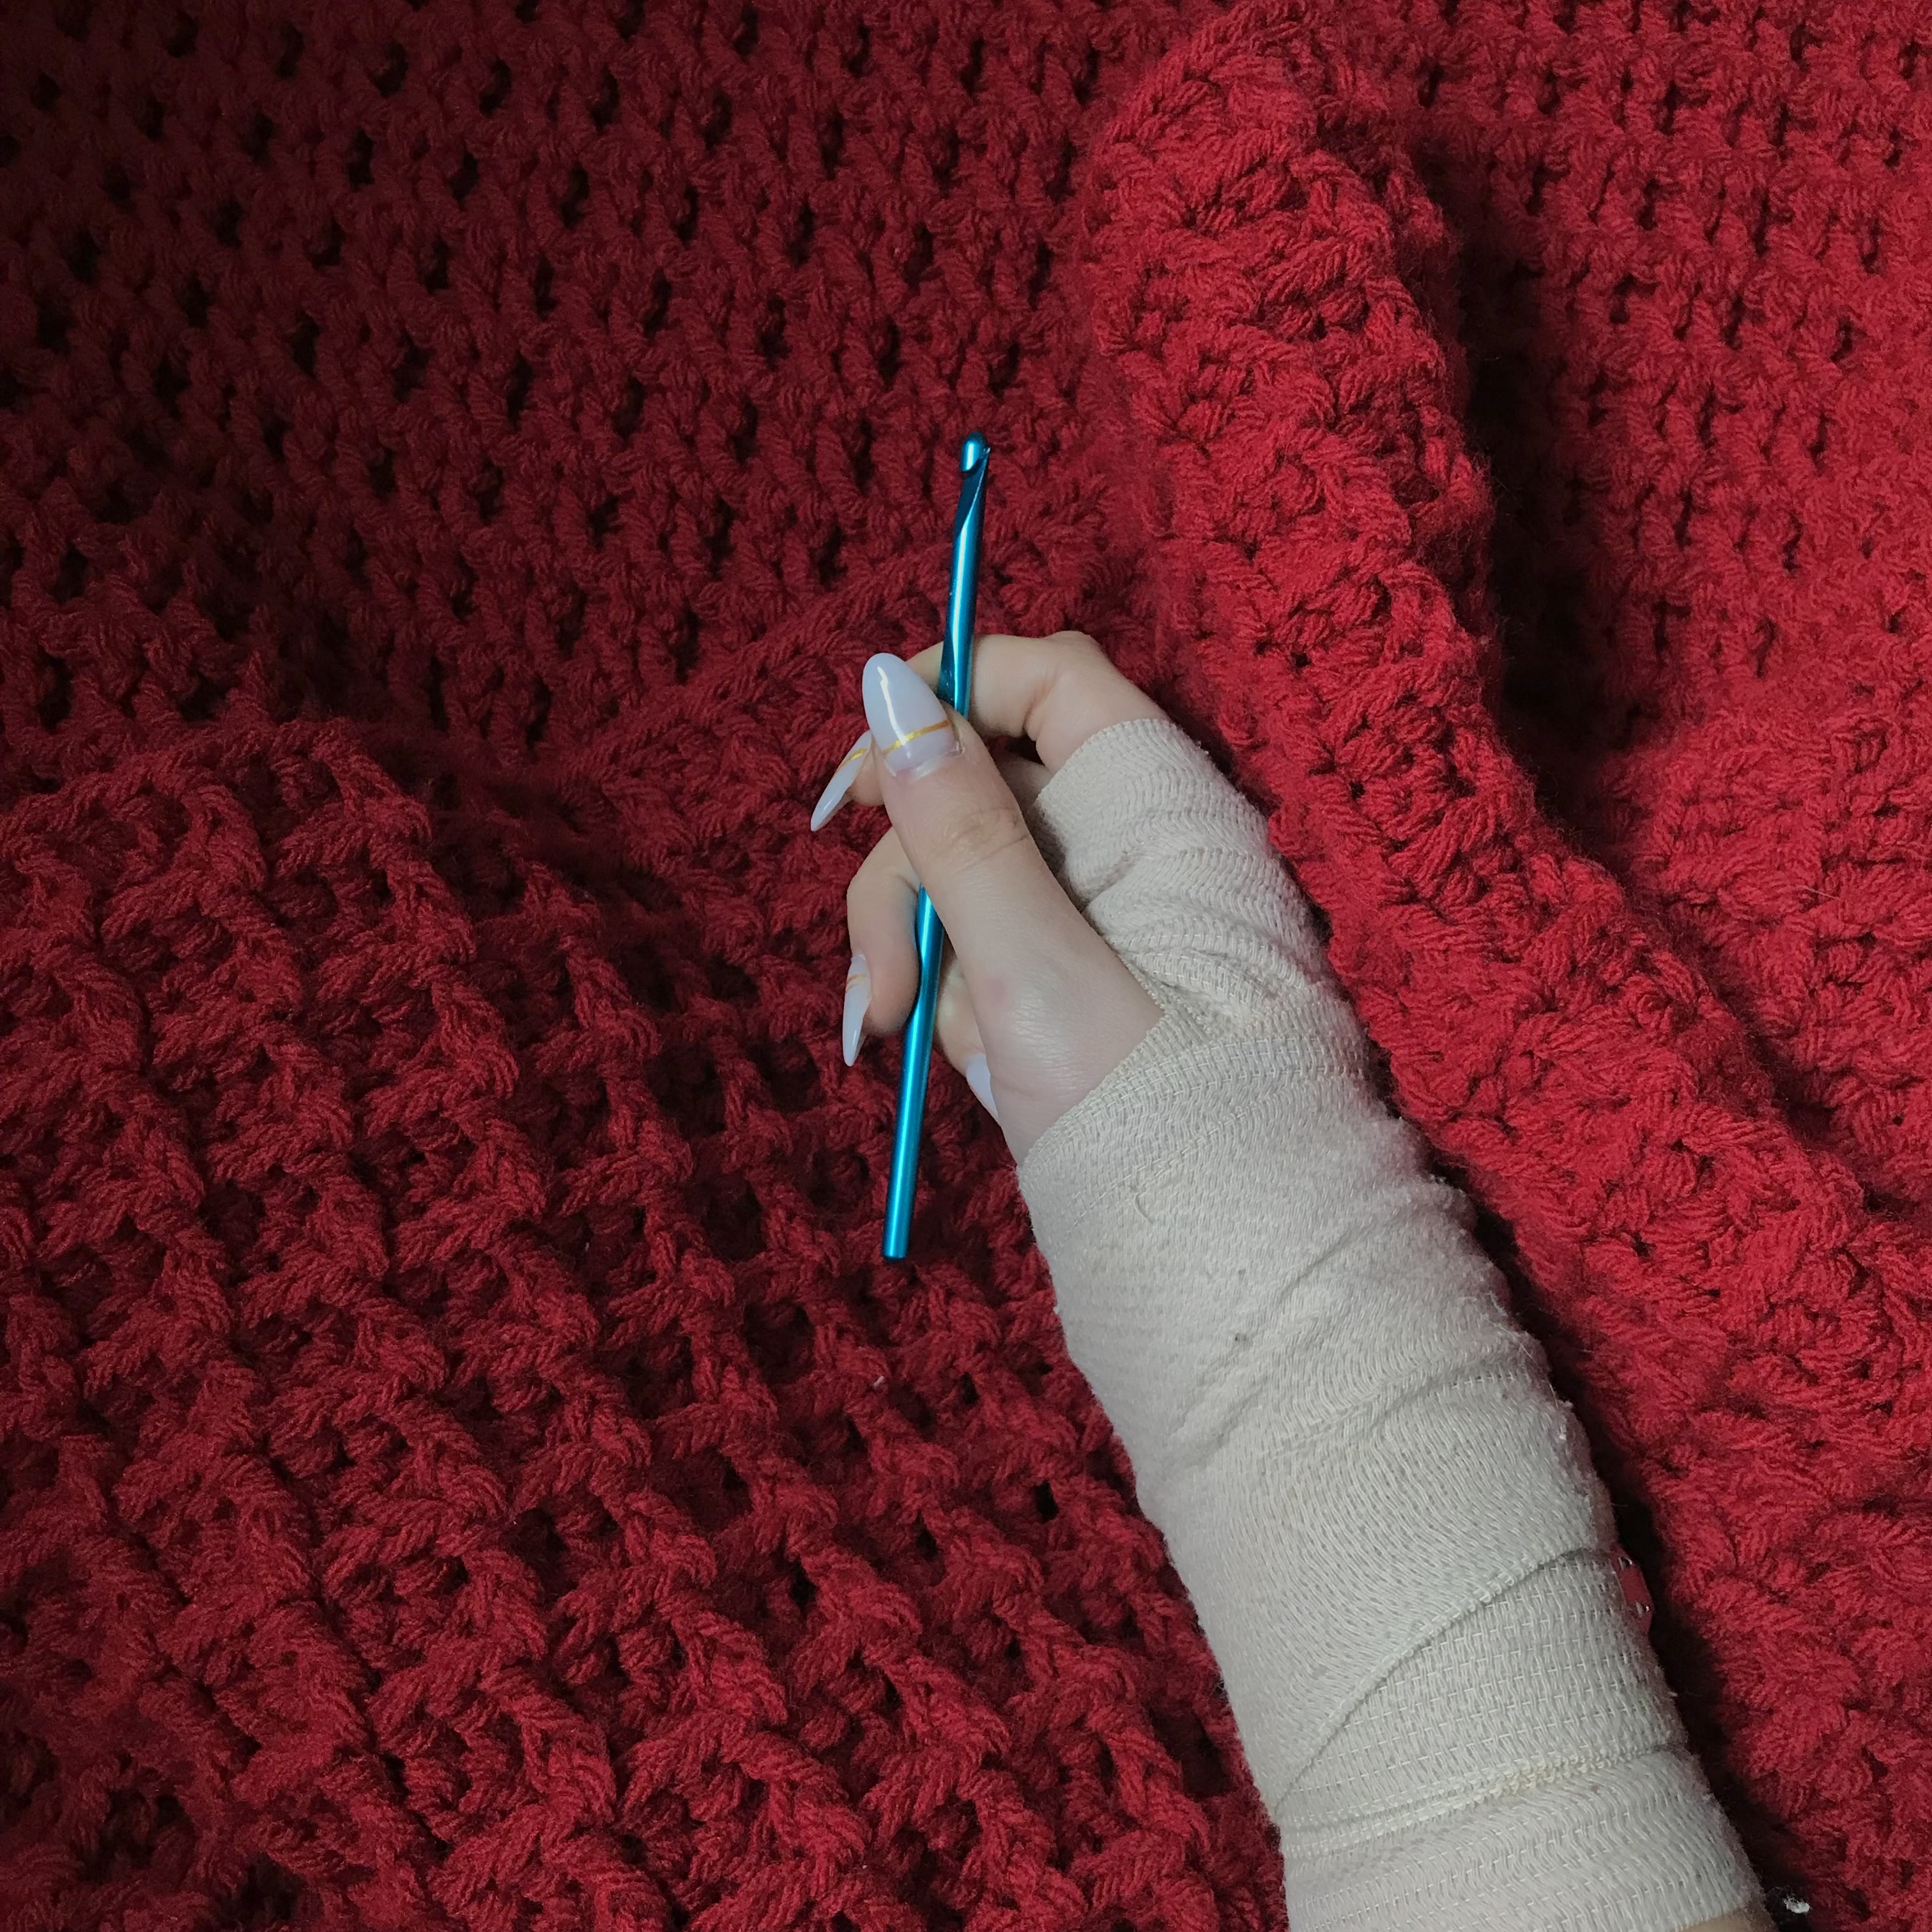
If this sounds familiar, try relaxing your grip.
You don’t need to hold your yarn or hook as tightly as possible to make neat stitches. In fact, pulling every loop tight can make crocheting much more difficult.
Let your hook do some of the work.
If your tension is still much tighter than you’d like, you can also try going up a hook size.
If your tension is too loose
Loose tension can make your stitches very large, uneven, or much more open than the pattern sample.
Try slowing down and paying attention to the size of your loops as you work.
Again, you don’t need to pull each stitch tight. You’re looking for a comfortable, consistent movement rather than trying to force every stitch into exactly the same shape.
Your tension doesn’t have to be perfect
This is something I really want beginner crocheters to hear:
Your stitches do not have to be perfectly identical.
The goal is reasonably consistent tension.
Your hands will naturally become more comfortable with practice, and your stitches will become more even as the movements start to feel familiar.
If your hands are getting tired or sore while you’re crocheting, you may also want to take a look at my Stretches for Crocheters for some simple ways to give your hands and wrists a break!
You’re Using Yarn That’s Making Crochet Harder Than It Needs to Be
Sometimes the problem isn’t your crochet skills.
Sometimes the yarn is just making things unnecessarily difficult.
Very dark yarn, fuzzy yarn, highly textured yarn, and very thin yarn can all make it much harder to see individual stitches.
And when you’re still learning how to recognize a stitch, not being able to see your stitches clearly can make everything feel ten times harder.
What yarn is easiest to learn with?
When you’re learning a new stitch or technique, try a smooth, medium-weight yarn in a lighter color.
You’ll be able to see the individual stitches much more easily, which makes it easier to understand where your hook should go.
That doesn’t mean you need to avoid beautiful textured or fuzzy yarn forever!
It just means you don’t have to make learning harder than it already is.
Once you’re comfortable with your stitches, you can absolutely branch out and experiment with different fibers, weights, and textures!
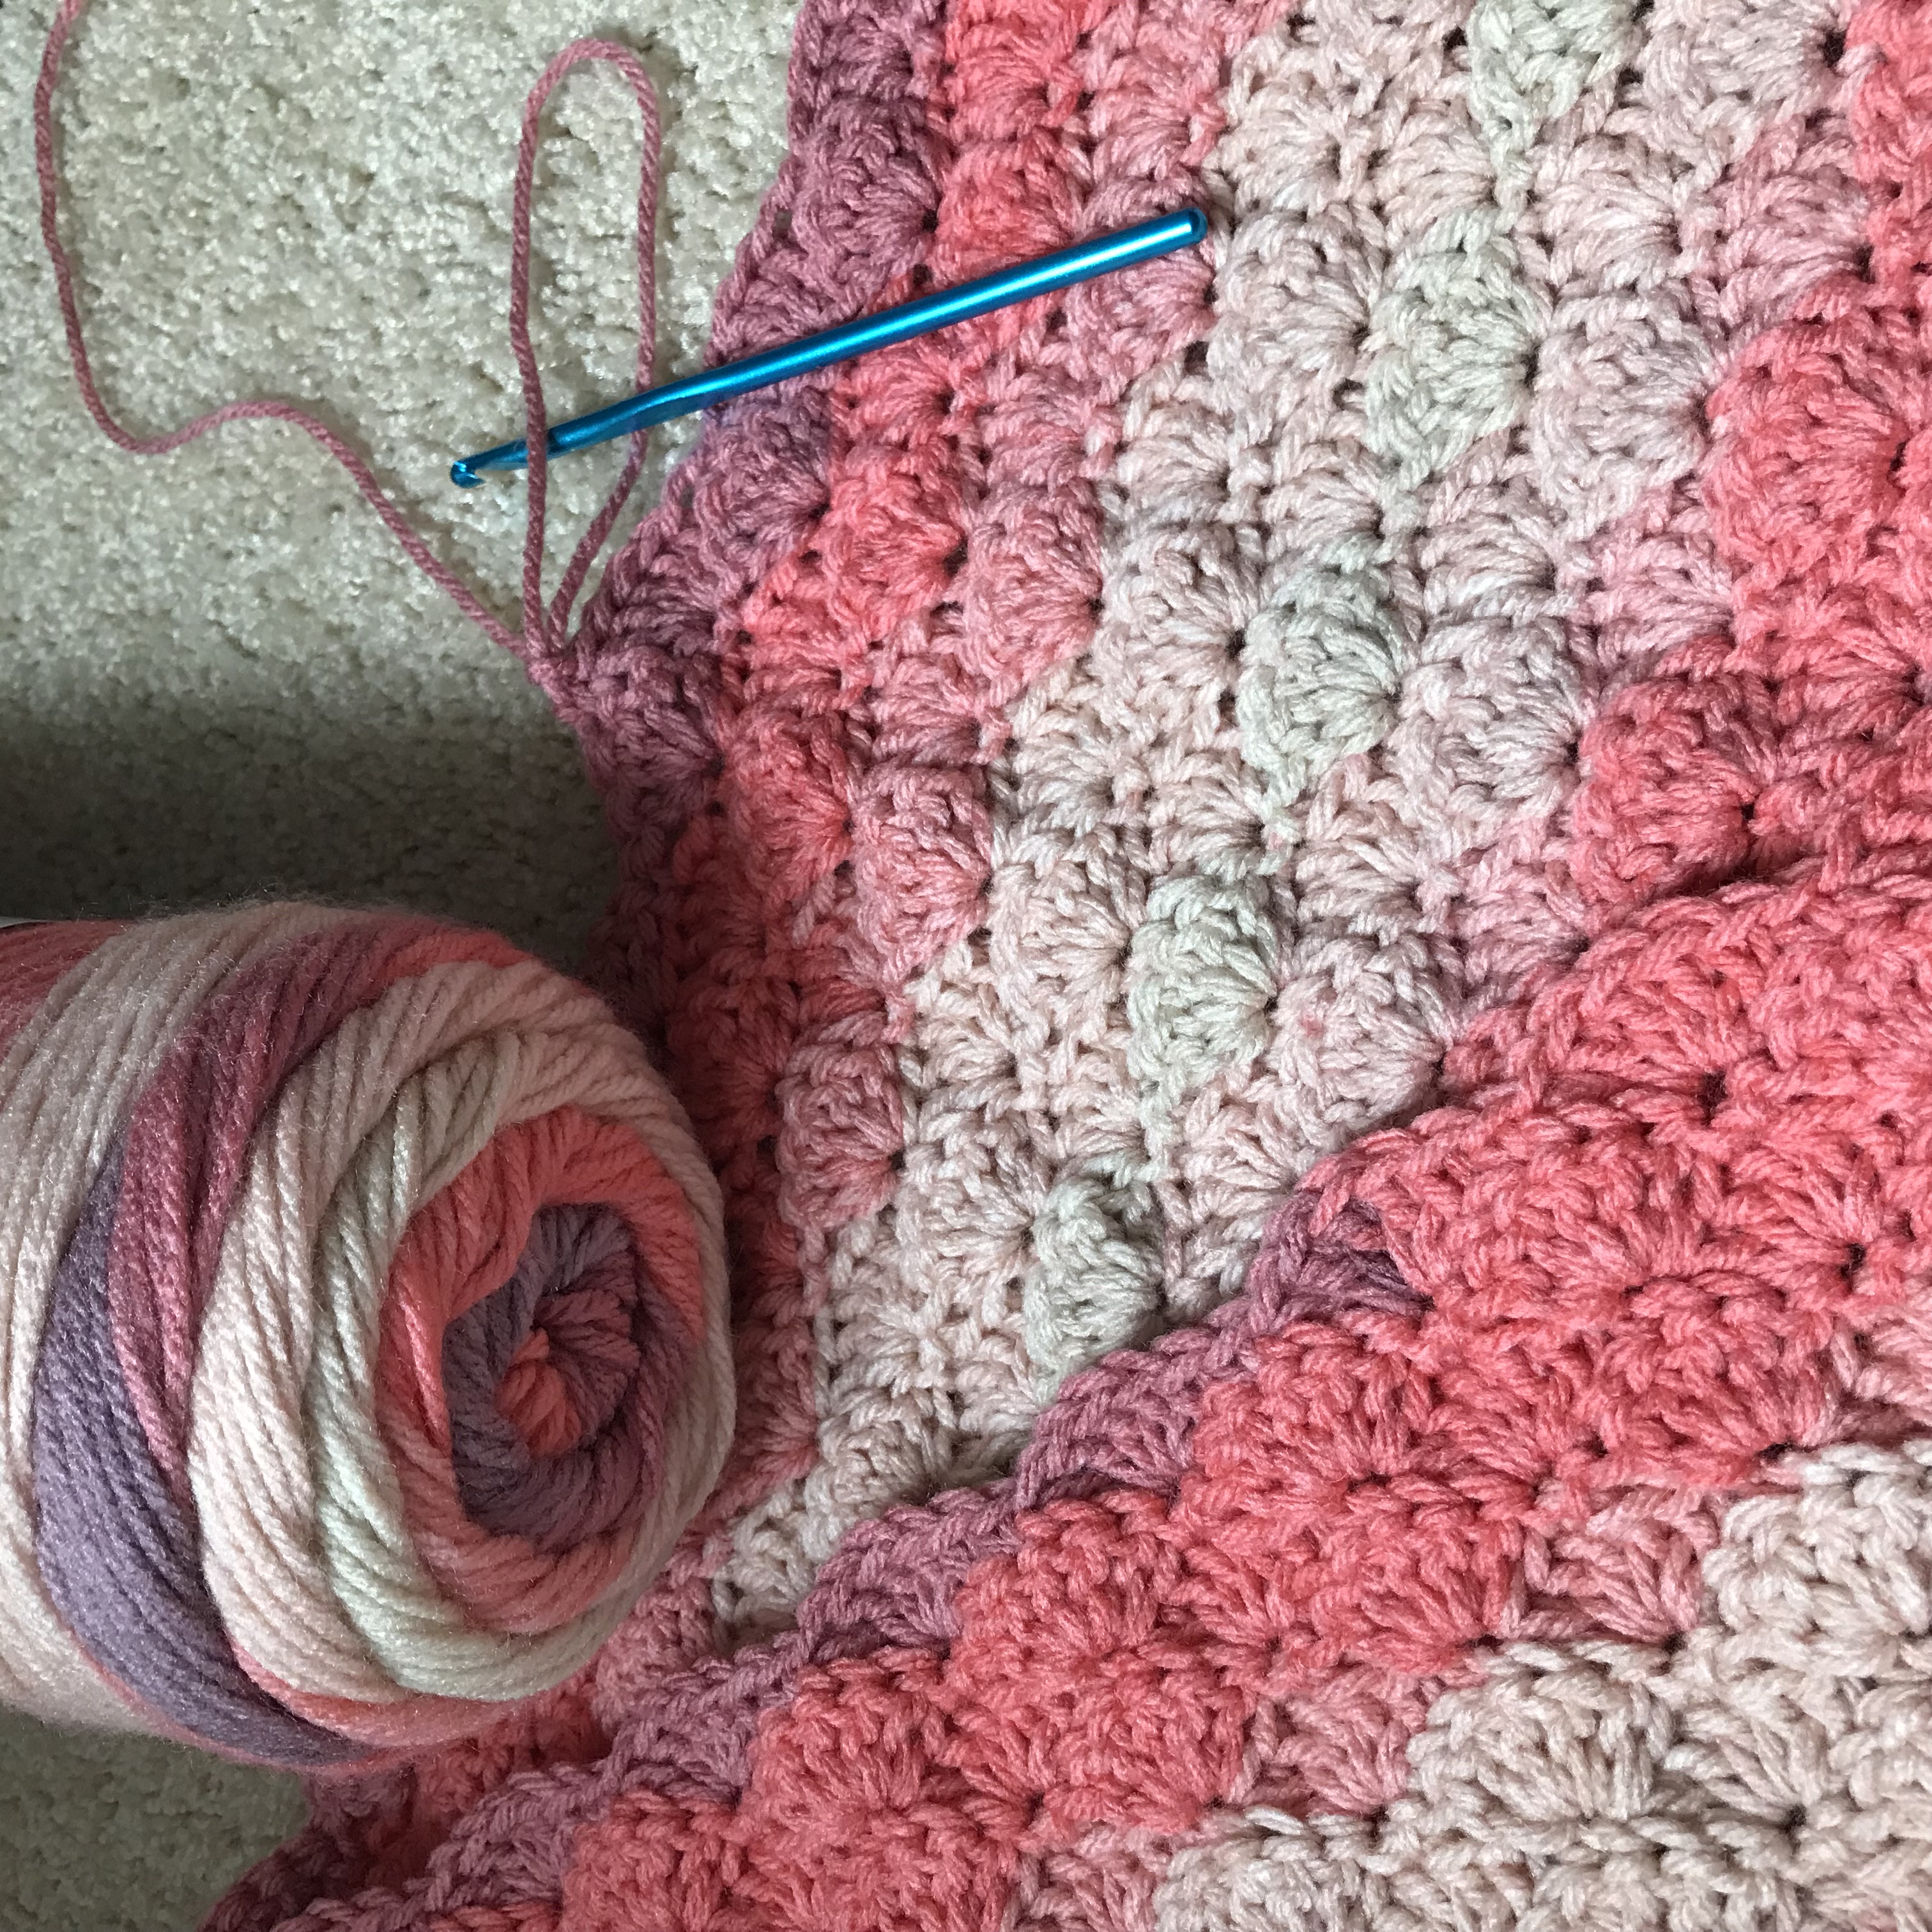
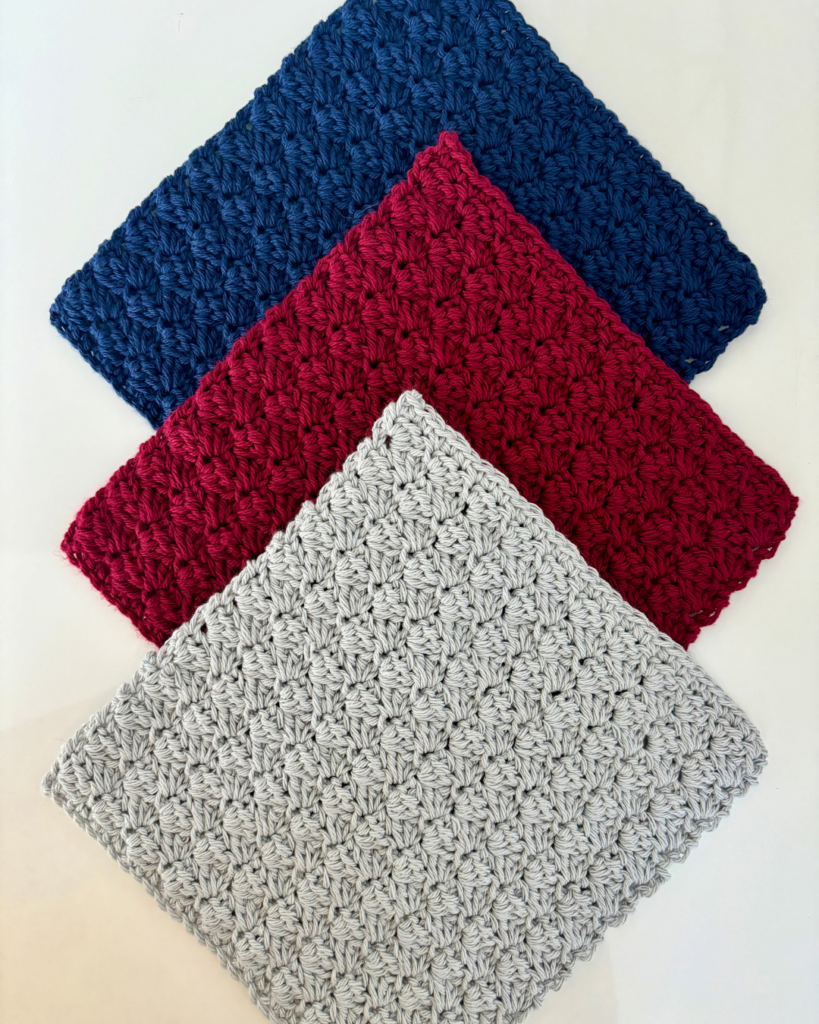
These dishcloths are a great example of how color can really change how the stitches look as you’re crocheting! If you’re interested in learning more about choosing yarn, you can also read my guide to the Best Yarn for Baby Crochet, where I go more in-depth about yarn fibers and what to look for when choosing yarn for a baby project.
You’re Skipping the Gauge Swatch When Gauge Matters
Let’s talk about the gauge swatch.
I know.
Not exactly the most exciting part of starting a crochet project.
If you’re making a dishcloth, a simple scarf, or another project where the exact finished size isn’t terribly important, gauge may not be something you need to stress over.
But if you’re making something that needs to fit a specific size, gauge becomes much more important.
Think sweaters, cardigans, baby clothing, hats, and other fitted garments.
Why does gauge matter?
If your tension is different from the designer’s, your finished project can end up much larger or smaller than expected.
You could follow every single instruction correctly and still end up with a baby sweater that doesn’t fit the intended size because your stitches are significantly larger or smaller than the designer’s.
What if your gauge doesn’t match?
Don’t panic.
If you’re getting more stitches than the pattern calls for in the same measurement, try a larger hook.
If you’re getting fewer stitches, try a smaller hook.
Then make another swatch and check again.
And remember that gauge isn’t only about stitch count. Row gauge can matter too, especially for garments and projects where the finished height is important.
If you don’t know where to start when it comes to finding the right crochet hook for you, check out my easy beginner Crochet Hook Guide!
Don’t make gauge harder than it needs to be
The goal of a gauge swatch isn’t to prove that you can make a perfect square of crochet.
It’s simply a way to find out how your tension and hook size compare to the pattern before you spend hours making the actual project.
Sometimes a few minutes of swatching can save you from an entire afternoon of frogging.
You’re Misreading the Crochet Pattern
Sometimes the crochet itself isn’t the problem.
It’s the pattern.
Or, more accurately, the way you’re reading the pattern.
Crochet patterns have their own abbreviations, punctuation, shorthand, repeats, stitch counts, and terminology. When you’re new to all of it, a few lines of instructions can feel like a completely different language.
Common pattern-reading mistakes
Beginners often:
- Skip the pattern notes
- Don’t check the stitch glossary
- Miss a repeat
- Forget to read the entire round or row
- Forget to check the stitch count
- Assume an abbreviation means something different
- Miss words like “repeat,” “across,” or “until”
How can you make patterns easier to follow?
Before you begin, take a few minutes to read through the pattern.
You don’t have to memorize everything.
Just look for anything that might affect how you work:
- What terminology is being used?
- Does the turning chain count?
- What does each stitch abbreviation mean?
- Where are the repeats?
- What should your stitch count be?
- Are there any special instructions?
It might take a few extra minutes at the beginning, but those minutes can save you a lot of frustration later.
And if a pattern instruction doesn’t make sense, don’t assume you’re the problem. Read it again, look for a tutorial or stitch explanation, and see if the designer has included additional notes.
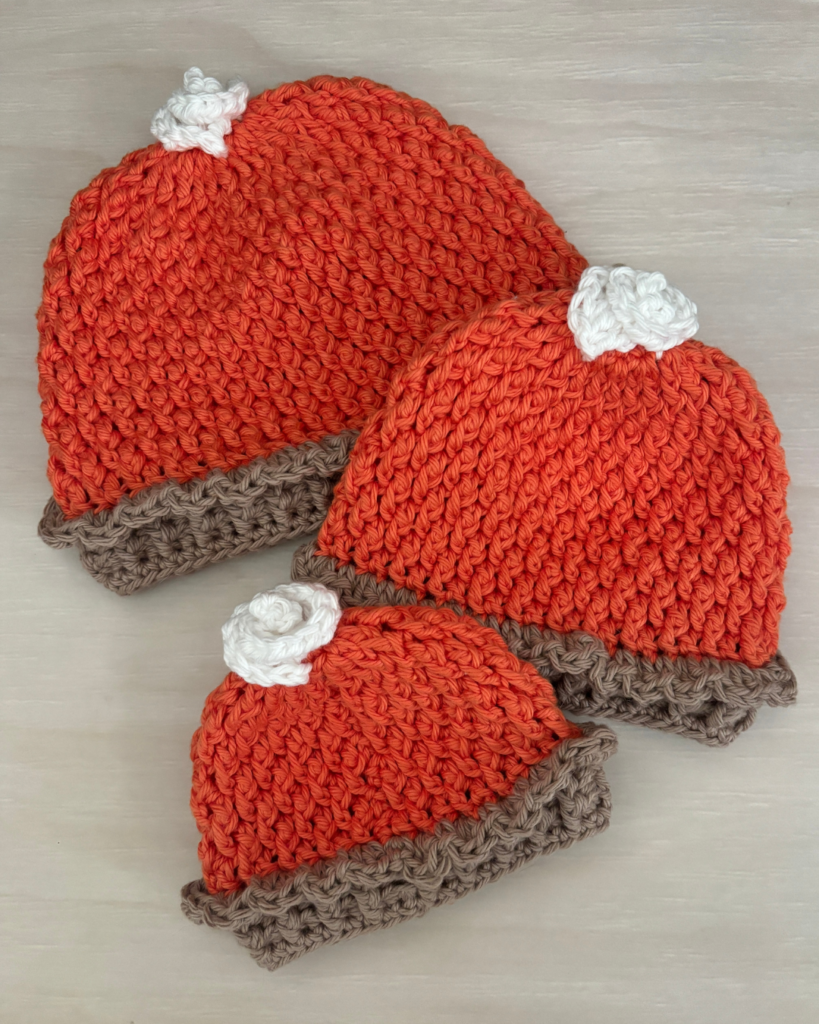
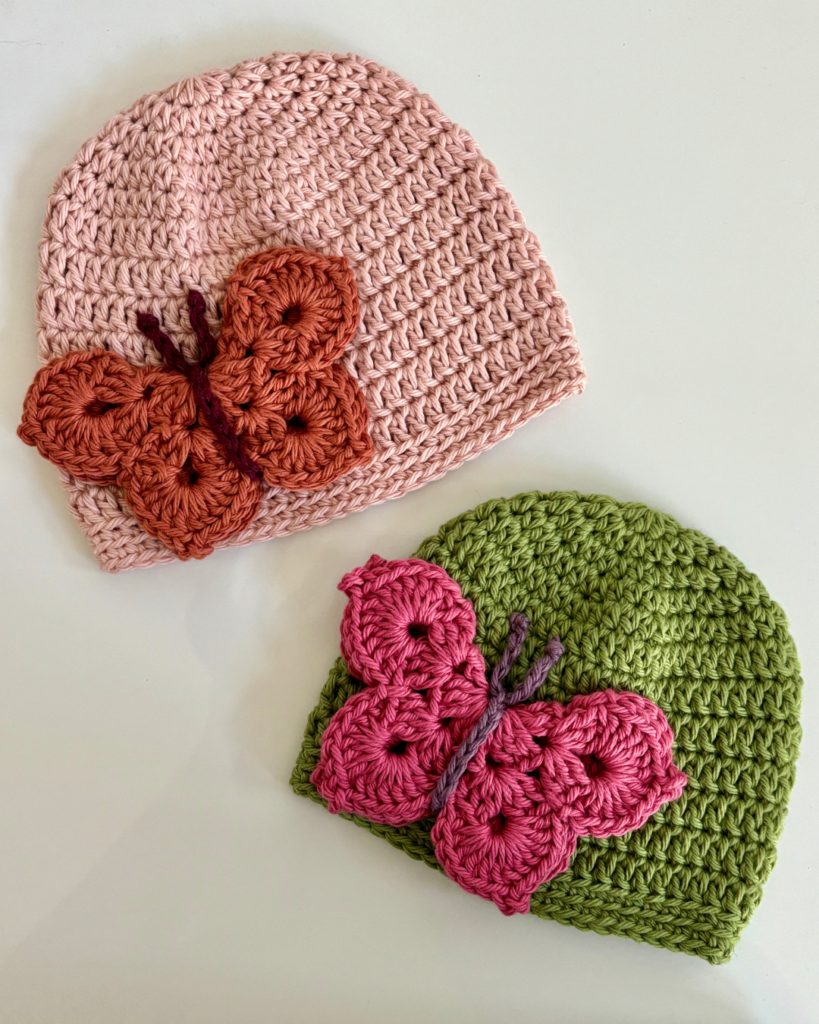
Looking for some beginner-friendly patterns? These are some of my favorite FREE Crochet Baby Hat Patterns for Every Season that are sure to have something for every little one!
You’re Mixing Up US and UK Crochet Terms
This one can cause some serious confusion.
Crochet terminology isn’t exactly the same in the United States and the United Kingdom.
For example, a US single crochet is called a double crochet in UK terminology. A US double crochet is called a treble crochet in UK terminology!
So you could be following a pattern perfectly and still end up with something completely different if you’re using the wrong terminology system.
A few common differences
| US terminology | UK terminology |
|---|---|
| Single crochet (sc) | Double crochet (dc) |
| Half double crochet (hdc) | Half treble crochet (htr) |
| Double crochet (dc) | Treble crochet (tr) |
| Treble crochet (tr) | Double treble crochet (dtr) |
Before beginning a pattern, check whether it uses US or UK terminology.
If you’re unsure, look for a note from the designer or check the stitch abbreviations used throughout the pattern.
And don’t assume that “dc” automatically means the same thing in every pattern!
A quick terminology check at the beginning can save you from making an entire project in the wrong stitch.
You’re Joining Your Rounds in the Wrong Place
Crocheting in the round introduces a whole new set of opportunities for confusion.
When you’re working a joined round, you need to know where the round begins, where it ends, where you’re supposed to join, and where the first stitch of the next round belongs.
And if you’re working several rounds of the same stitch, it can become surprisingly difficult to tell where one round ends and the next begins.
How can this go wrong?
You might:
- Join into the wrong stitch
- Accidentally skip the joining stitch
- Crochet into the starting chain when you shouldn’t
- Add an extra stitch
- Lose track of the beginning of the round
Any of these can affect your stitch count or make the finished project look uneven.
How can you prevent it?
Use a stitch marker to clearly mark the beginning of your round.
This is one of those simple little tricks that can make crocheting in the round much less confusing.
And always check the pattern instructions for how the designer wants the round joined. Not every pattern is constructed exactly the same way.
Haven’t tried stitch markers? This set of stitch markers comes with a storage box!
Before You Frog It, Make Sure Something Is Actually Wrong
Before you pull out half of your project, take a minute to figure out what you’re actually looking at.
Sometimes crochet looks strange while you’re making it and turns out perfectly fine in the end.
This happens with textured stitches, shaping, color changes, and pieces that haven’t been blocked yet.
Your finished crochet can also look different from the designer’s photos because of differences in yarn, hook size, tension, lighting, and even how the finished piece is positioned for the photograph.
So before you decide you’ve made a huge mistake, ask yourself:
- Does my stitch count match the pattern?
- Am I using the correct yarn weight and hook size?
- Have I followed the instructions correctly?
- Does the pattern say this section should look this way?
- Will blocking change the shape or appearance?
If everything checks out, you may not have a problem at all.
And if you’re making a stitch pattern that adds a lot of texture, don’t judge the finished look too quickly! Some crochet doesn’t really come together until the piece has been finished and blocked.
When Should You Actually Undo Your Crochet?
There is a strange amount of emotional attachment that can happen after you’ve spent an hour making something.
You look at the row you’ve just finished and realize you made a mistake three rows back.
And suddenly you’re thinking:
“Maybe nobody will notice.”
Sometimes that’s true!
Other times, you absolutely should undo it.
I’d recommend fixing a mistake when it:
- Changes the shape of the project
- Changes the stitch count
- Affects the fit
- Changes an important design detail
- Will cause problems in the next section
- Is going to bother you every time you look at it
But here’s something else I’ve learned after crocheting for a very long time:
I haven’t frogged every mistake I’ve ever made.
Sometimes I notice an extra stitch a little too late and realize that I can sneak an increase or decrease into the next row without changing the overall design.
Sometimes I make a tiny mistake in a blanket that nobody will ever notice.
And sometimes… I just decide that the handmade nature of the project is more important to me than absolute perfection.
That doesn’t mean you should ignore a mistake that’s going to completely derail your project.
It just means you don’t have to frog something every time one stitch isn’t exactly where you wanted it to be.
Learning when to fix a mistake and when to leave it alone is part of becoming a more confident crocheter, too.
How to Get Better at Crochet Without Expecting Perfect Stitches
The best way to avoid crochet mistakes isn’t to never make them.
It’s to get better at spotting them early.
A few simple habits can make a huge difference!
Count your stitches regularly
Especially at the end of a row or round.
Use stitch markers
They’re useful for beginners, not just complicated patterns.
Read the pattern before you start
Look for terminology, repeats, stitch counts, and special instructions.
Don’t rush through the beginning
The first few rows are often where small mistakes turn into big ones.
Use yarn you can actually see
A smooth, light-colored yarn can make learning much easier.
Keep your tension relaxed
Your crochet hook shouldn’t have to be wrestled into every stitch.
Check your work as you go
A quick glance every few rows can save you from a much bigger correction later.
And perhaps most importantly…
Don’t be afraid to start over
Undoing your crochet isn’t wasted work.
Every time you pull out a few rows and remake them, you’re learning something about how those stitches fit together.
Eventually, you’ll start catching mistakes almost as soon as they happen.
That’s when crochet starts feeling a lot less overwhelming, confusing, and frustrating.
Final Thoughts
Every crocheter makes mistakes.
Some of mine have been obvious. Some have taken me embarrassingly long to notice. And some were probably mistakes that nobody else would have ever seen if I hadn’t been staring at them so closely.
That’s just part of learning.
Crochet takes patience, practice, and a little bit of willingness to make something imperfect while you’re figuring it out.
So if you’re a beginner who’s currently staring at a project and wondering what went wrong, I hope this post reminds you that you haven’t ruined anything just because it doesn’t look perfect.
Count your stitches.
Check the pattern.
Take a breath.
And if you really did make a mistake, that’s okay too.
Pull out a few stitches. Try again. Or, if the mistake isn’t going to affect the finished project, maybe leave it there and call it a happy accident.
After all, crochet is a labor of love.
The little imperfections are part of what make something handmade yours.
What is the biggest crochet mistake you’ve made while learning? I’d genuinely love to hear about it in the comments. And if there’s a crochet problem you’ve run into that I didn’t cover here, let me know! It might just make for a helpful addition to this guide!
You can also browse my Etsy and Ravelry shops for additional crochet patterns. And if you’re considering a hook upgrade, I’m still a big fan of Clover Amour hooks—I even put together a full review along with a few budget-friendly alternatives if you’d like to compare options.
I always love seeing your finished projects! If you make one of these crochet summer wearables, tag me on Instagram @crochetwithgabriellarose so I can see what you’re creating! If you’re more of a Facebook person, you can also follow the Crochet with Gabriella Rose Facebook page for updates on new crochet patterns, blog posts, and tutorials.